
Blogs
Building a Room Automation System
Building a Room Automation System with ESP32 and a Captive Portal
Smart home technology has become increasingly popular, but many solutions depend on cloud services and internet connectivity.
For this project, I wanted to build a simple and affordable room automation system that works entirely on a local network without requiring internet access. Using an ESP32 microcontroller, a DHT11 sensor, and relay modules, I created a system that can monitor room conditions and control appliances through a modern web dashboard.
Project Overview
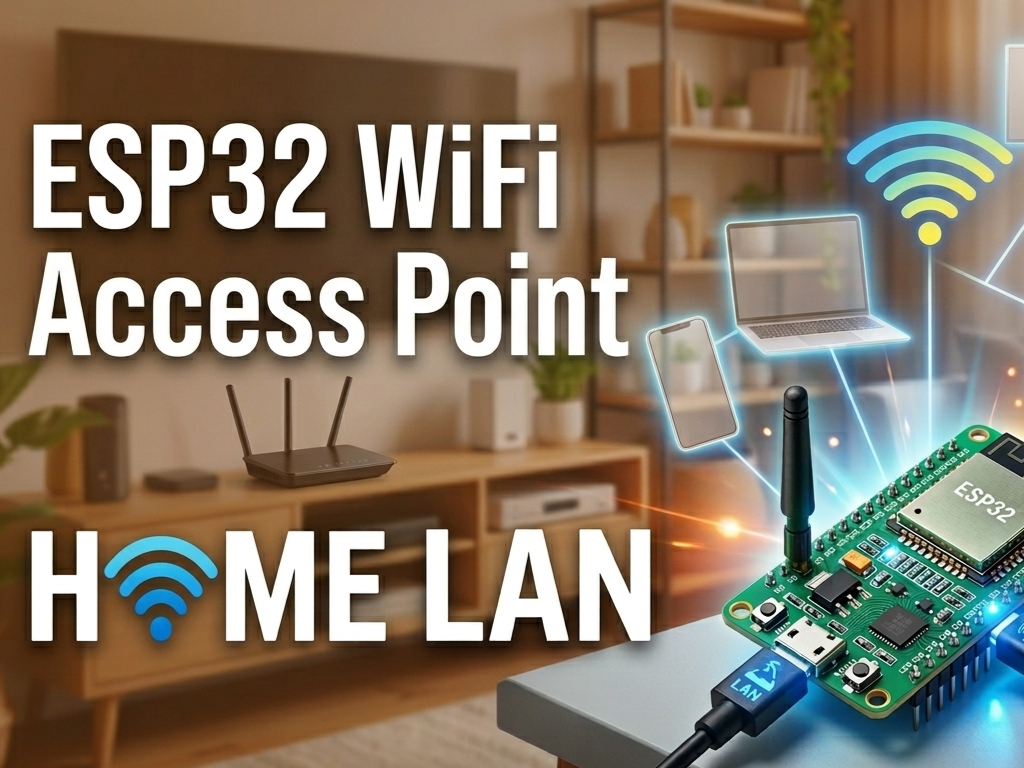
The Room Automation System is powered by an ESP32 running as a standalone Wi-Fi Access Point. Users can connect directly to the device's wireless network and access a web-based control panel from any smartphone, tablet, or computer.
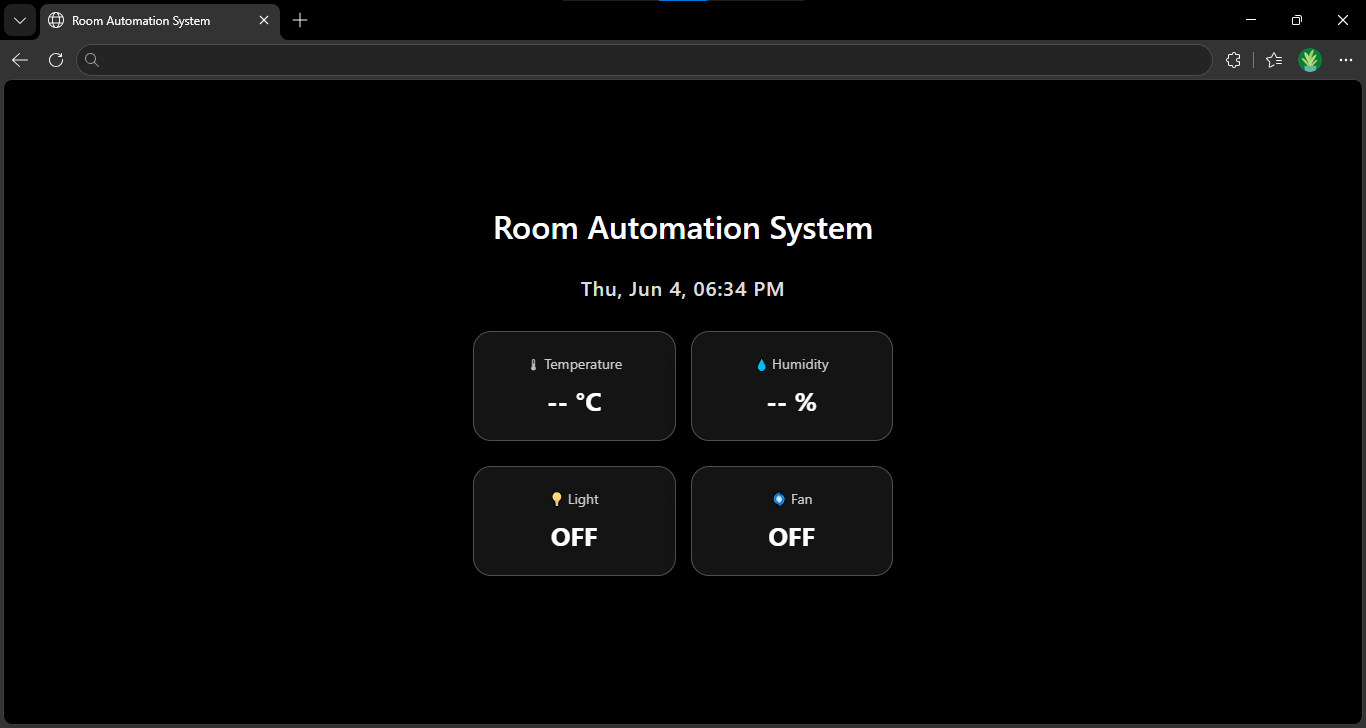
The dashboard displays real-time temperature and humidity readings while also providing controls for switching appliances such as lights and fans on or off.
Unlike many IoT projects that rely on external servers, this system operates completely offline, making it reliable, secure, and easy to deploy.
Objectives
- Monitor room temperature and humidity.
- Control electrical devices wirelessly.
- Create a user-friendly web interface.
- Implement captive portal functionality.
- Operate without internet connectivity.
- Learn more about ESP32 web server development.
Hardware Components
The project uses a small number of affordable components:
- ESP32 Development Board
- DHT11 Temperature and Humidity Sensor
- 2-Channel Relay Module
- Jumper Wires
- Power Supply
How the System Works
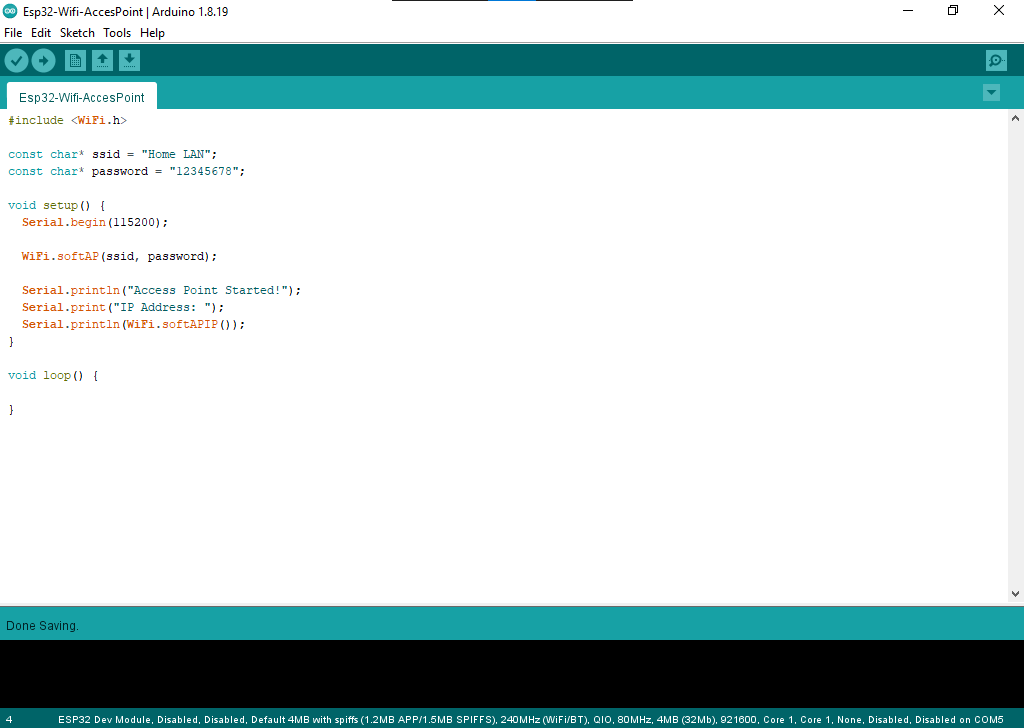
When powered on, the ESP32 creates its own wireless network named "Home LAN". Users connect to this network using a password and are automatically redirected to the control dashboard through a captive portal.
The DHT11 sensor continuously measures temperature and humidity. These readings are sent to the web interface through an API endpoint, allowing the dashboard to update automatically without refreshing the page.
Two relay channels are connected to the ESP32. One relay controls a light, while the other controls a fan. When a user presses a button on the dashboard, a request is sent to the ESP32, which immediately updates the relay state.
This creates a simple but effective smart room control system.
Captive Portal Implementation
One of the most interesting features of this project is the captive portal.
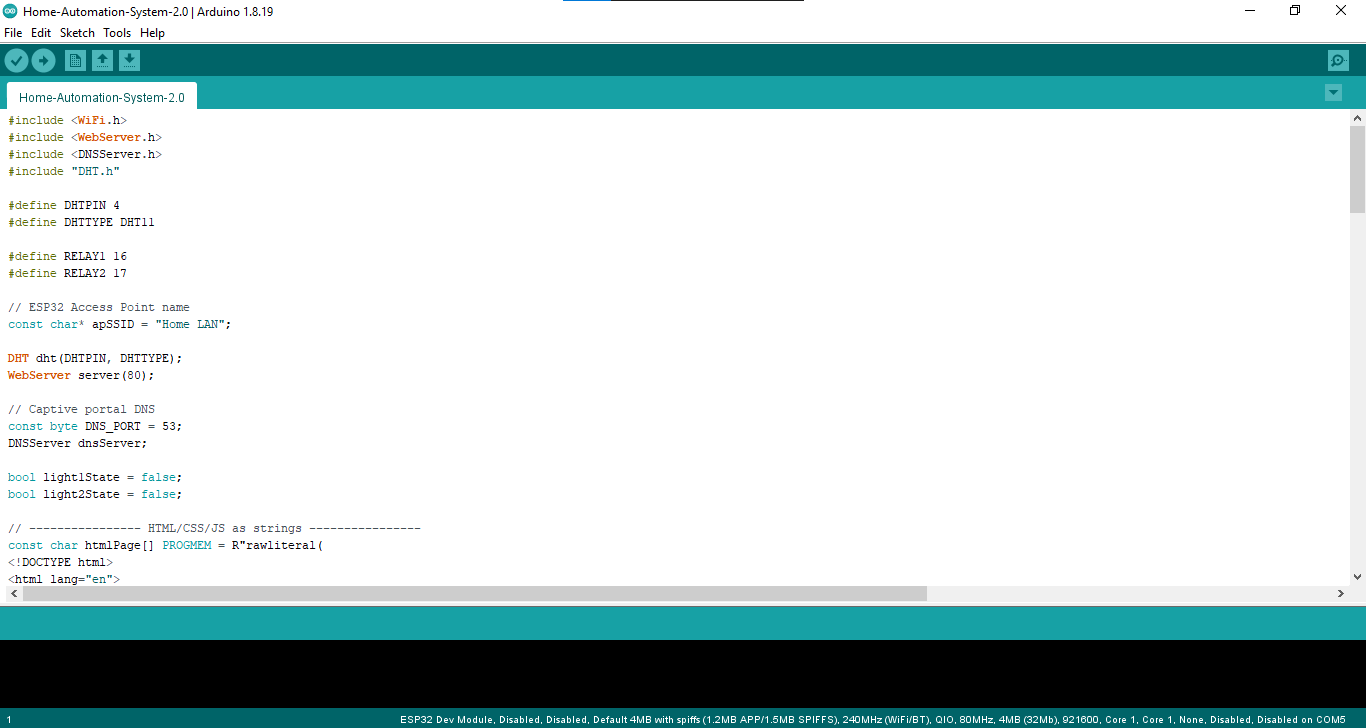
Normally, users need to know the IP address of a device to access its web interface. To simplify the experience, a DNS server runs on the ESP32 and redirects all requests to the dashboard page.
As a result, once connected to the Wi-Fi network, users are automatically presented with the control interface regardless of which website they attempt to visit.
This makes the system feel much more professional and user-friendly.
Designing the Web Dashboard
The user interface was built using HTML, CSS, and JavaScript.
I wanted the dashboard to look modern while remaining lightweight enough for the ESP32 to serve efficiently. The design includes:
- Dark theme
- Glassmorphism effects
- Responsive layout
- Live sensor updates
- Animated device status indicators
Sensor Monitoring
Environmental monitoring is handled by the DHT11 sensor.
The dashboard displays:
- Current temperature in Celsius
- Current humidity percentage
This allows users to monitor room conditions in real time.
Device Control
The automation features are powered by relay modules connected to GPIO pins on the ESP32.
The dashboard includes controls for:
- Room Light
- Fan
This creates an intuitive control experience for the user.
Challenges Faced
During development, several challenges had to be addressed.
The first challenge was implementing the captive portal correctly so that all DNS requests redirected to the dashboard. This required combining the web server and DNS server functionality on the ESP32.
Another challenge was creating a responsive user interface that remained lightweight enough for embedded hardware.
Finally, ensuring stable sensor readings and smooth communication between the browser and ESP32 required careful testing and optimization.
What I Learned
This project provided valuable experience in several areas:
- ESP32 networking
- Access Point mode configuration
- Captive portal development
- Embedded web servers
- JavaScript-based data updates
- Relay control systems
- IoT application design
Future Improvements
Although the project is fully functional, several improvements could be added in future versions:
- Remote internet access
- Mobile application integration
- DHT22 sensor upgrade
- Multiple room management
- Energy monitoring
- User authentication
- Device scheduling
Conclusion
This Room Automation System demonstrates how an ESP32 can be used to create a practical and affordable smart home solution. By combining environmental monitoring, wireless control, and a modern web dashboard, the project delivers useful functionality while remaining simple and cost-effective.
The captive portal feature provides an excellent user experience, allowing anyone to connect and interact with the system without needing technical knowledge.
Overall, this project was a great opportunity to explore IoT development, embedded web technologies, and home automation concepts while creating something both educational and practical.